The Easy Guide to Making Your Github Pages Site HTTPS
I recently added HTTPS to my blog. The information in the Github docs on how to enable this feature is a little scattered, so here's a quick and easy summary of the steps required.
Prerequisites
This guide is for using the Github Pages feature of Github with your own domain name.
Github provides a way to host your own static HTML website via a Git repository. Every repo has the ability
to do this by having the HTML pages and related assets in a gh-pages branch. It is great for making a
documentation site of technical projects, or your own blog. My website is generated using a Ruby tool Middleman
1. Create a DNS "A" Record
Assuming your domain name is newly established, you need to create an "A" type DNS record. According to the docs, it must point to one of the following IP addresses:
185.199.108.153
185.199.109.153
185.199.110.153
185.199.111.153
2. Create a DNS "CAA" Record
The "CAA" record will enable Let's Encrypt to issue a certificate for your domain name. This type of record is basically
a security feature that specifies which certificate authority is allowed to produce records for your domain. It is required
for your Github Pages site to run on HTTPS. Just set the value to letsencrypt.org and the host name value be your
top level domain (or blank).
3. Redeploy your website
For Github Pages to initiate the HTTPS certificate generation process, you need to do a deploy of your website. Since
I am using Middleman, I had to commit a small change to the website and at the command line rake publish.
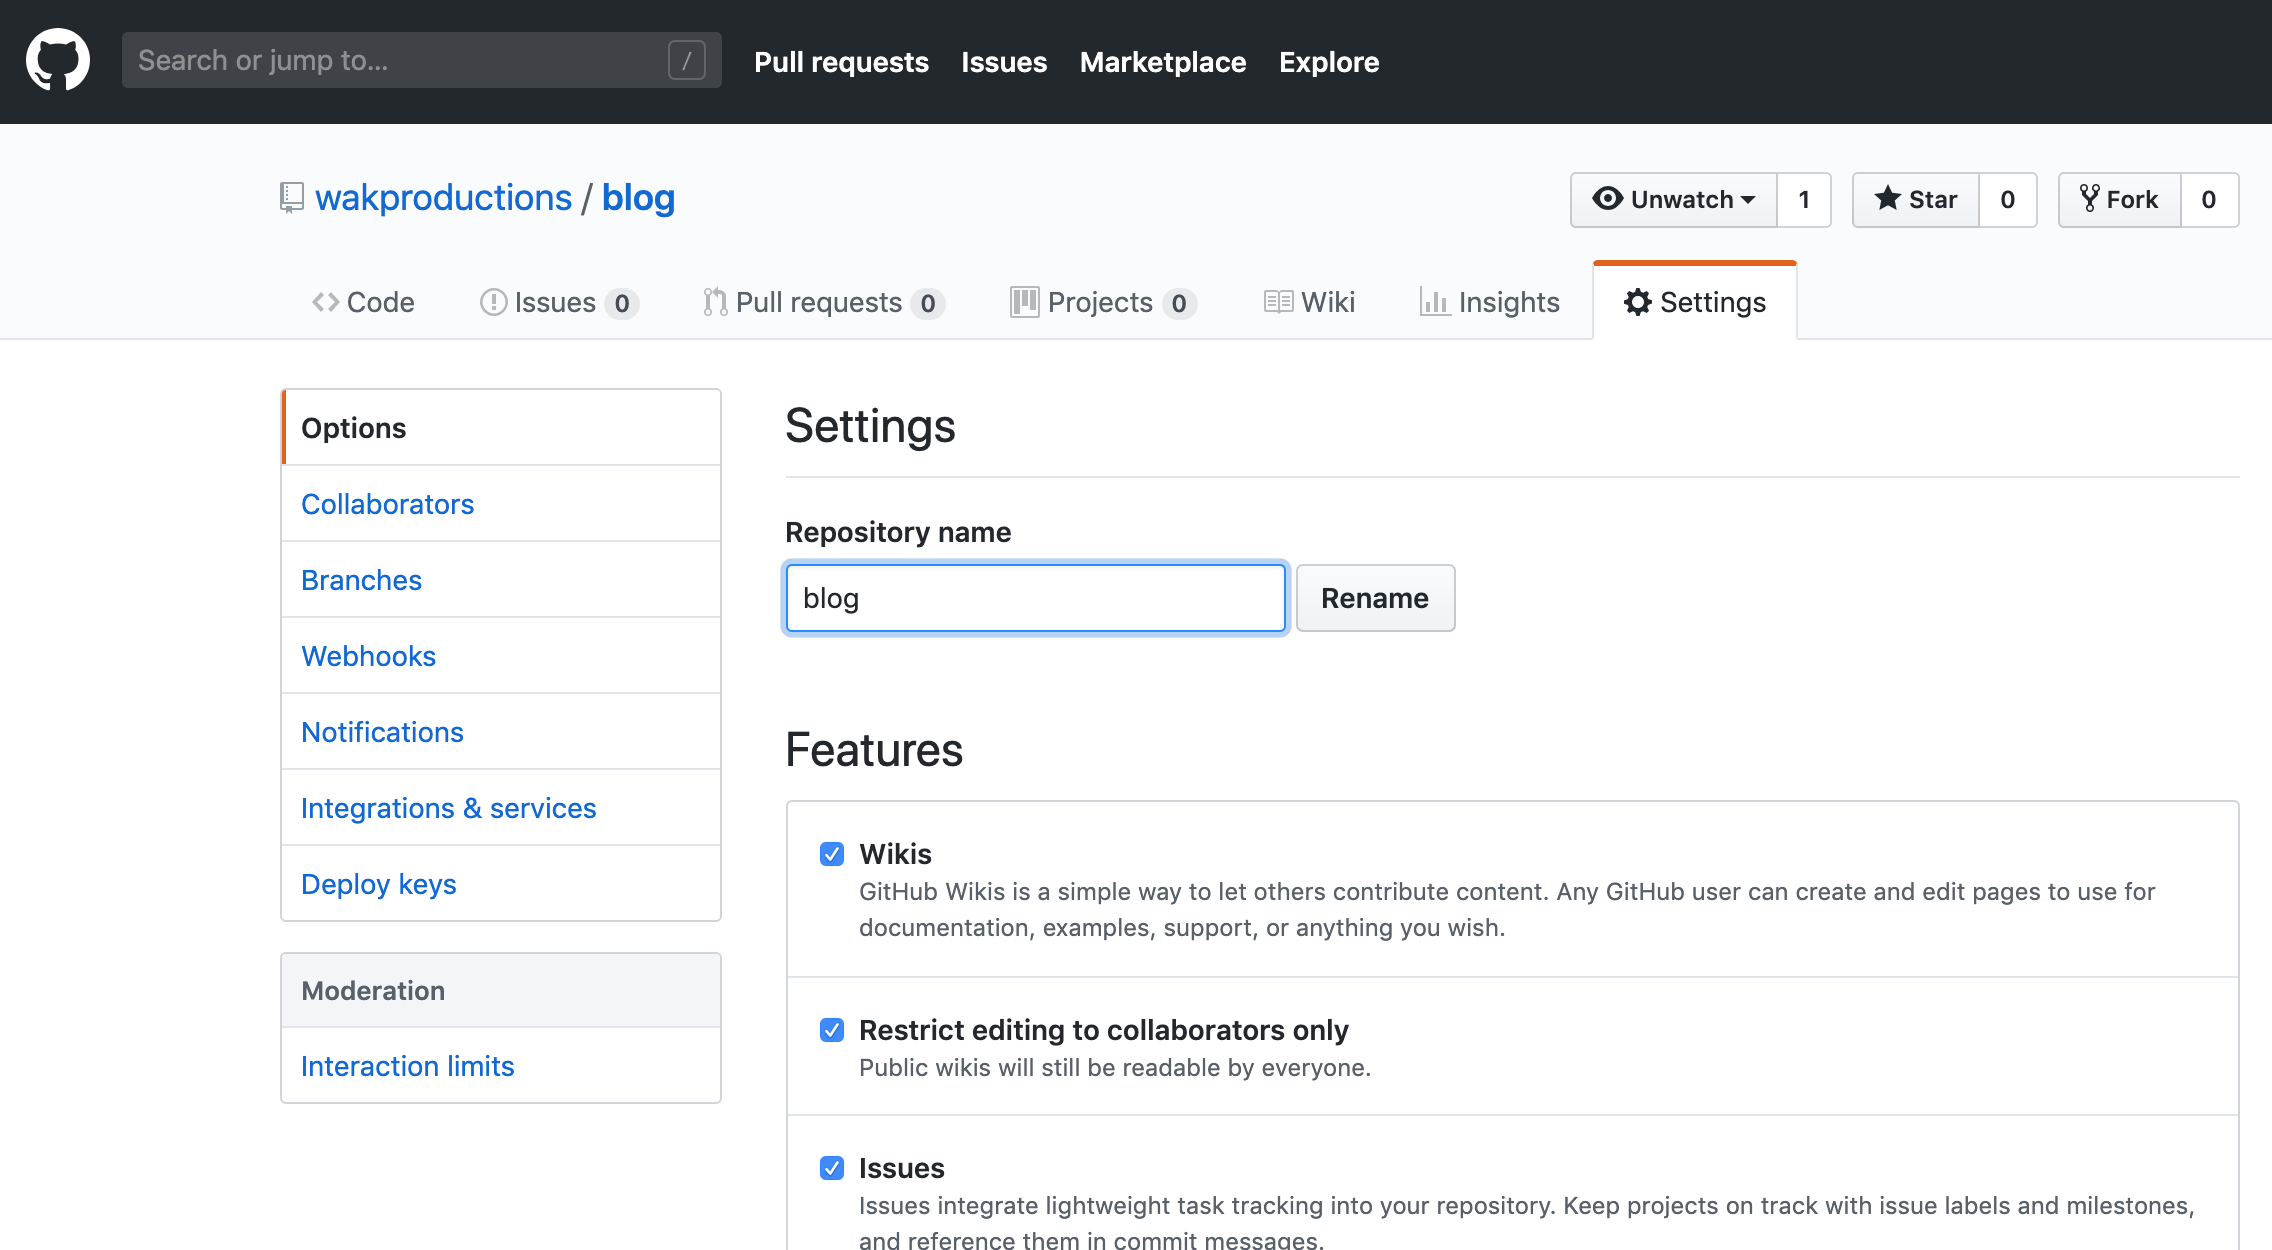
4. Enable the "Force HTTPS" option in your Github settings
For every repo you want to work with HTTPS, you need to go into your Github settings and check the "Force HTTPS" box.
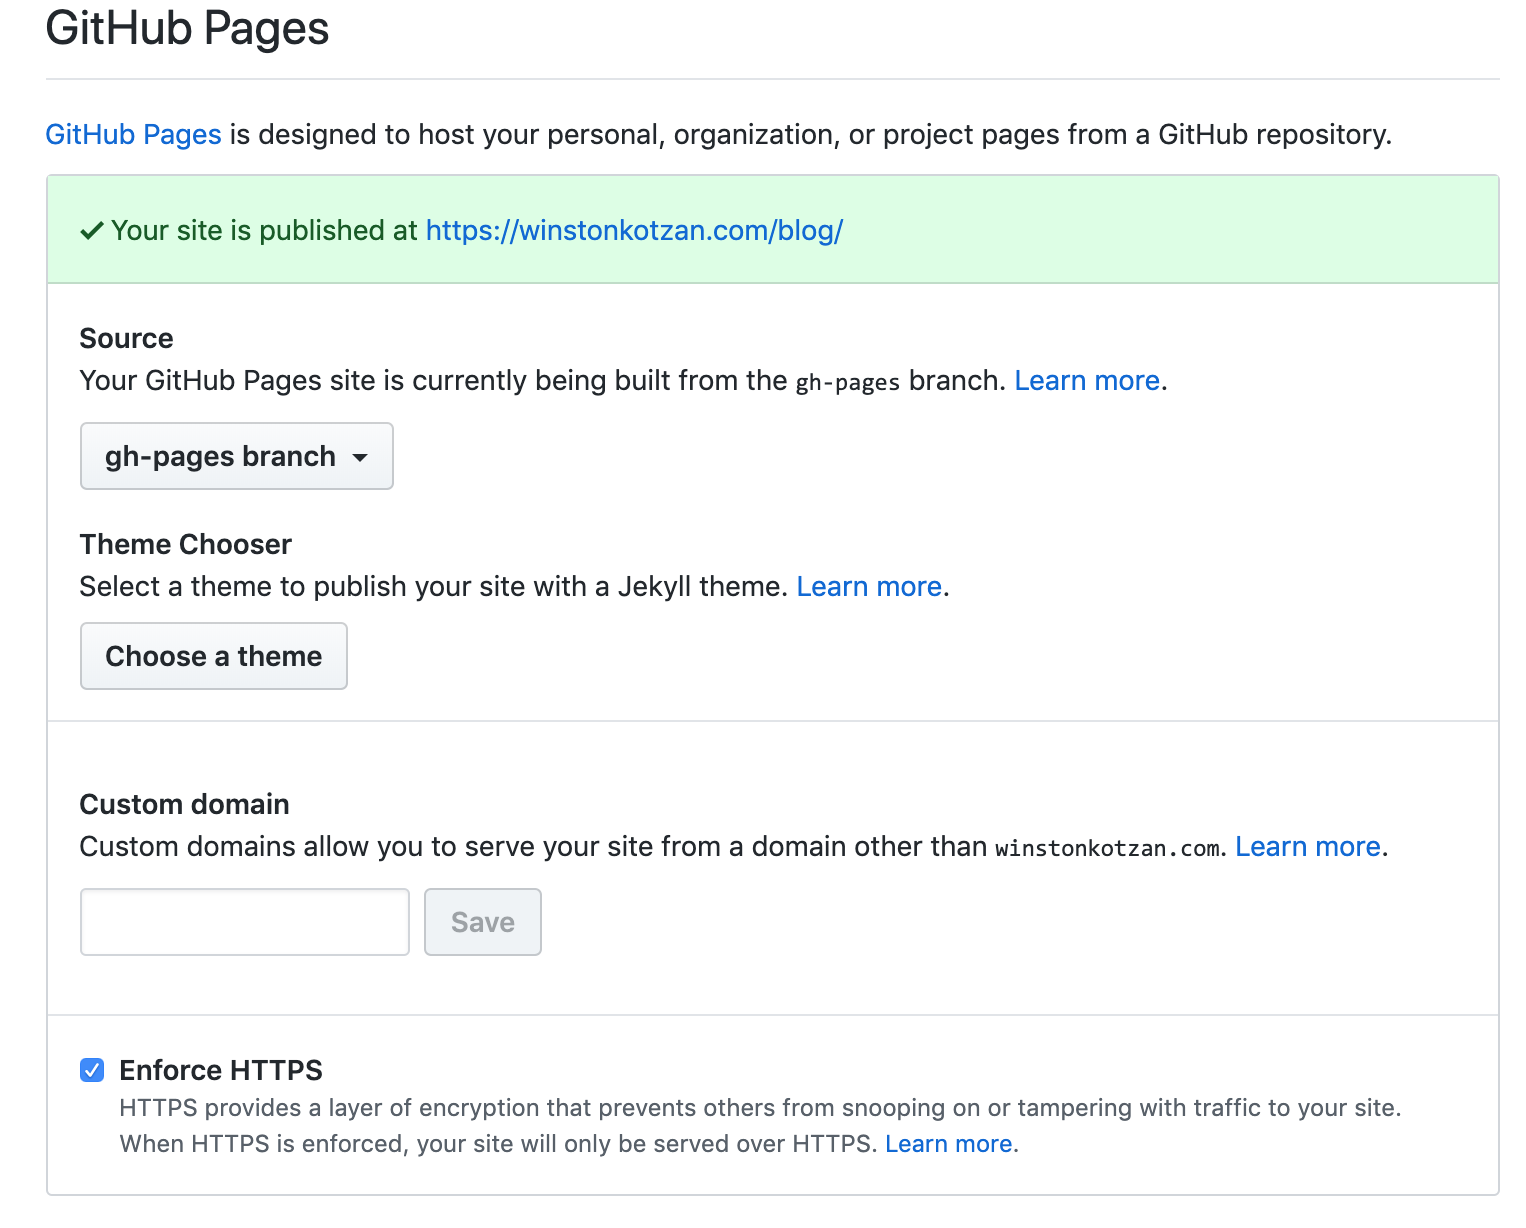
It can take a few minutes for all of these settings to propagate, so don't worry if everything doesn't work right away.
CNAME file (maybe)
For some repos, you may need to drop in a plain text file named CNAME with the only contents being the name of your
domain. This allows Github Pages to find and route DNS appropriately on their end.
Bonus Tips
I recommend shopping around for a DNS provider to give you the best price. There are many registrars out there which charge a lot for little value. I was previously using DNSimple, which I discontinued because I felt it was too expensive for what it's worth. They had great service, but charged a monthly fee and also wouldn't create the "CAA" record unless I upgraded my plan. They also wanted to charge extra for Whois privacy protection. This didn't even include the $15 a year registraton fee for the domain itself.
I've also had bad experience with Amazon's Route 53 service. They have a complicated system for billing and charge per amount of traffic. What they offer might be useful for web apps that require a lot of bandwidth and latency is a concern, but that is not the case for this single blog.
I'm currently using a Germany based service named Ionos. It has all of the features I need. The only thing I would change is that I wish they had US-based name servers. But that's not an issue for this blog right now.